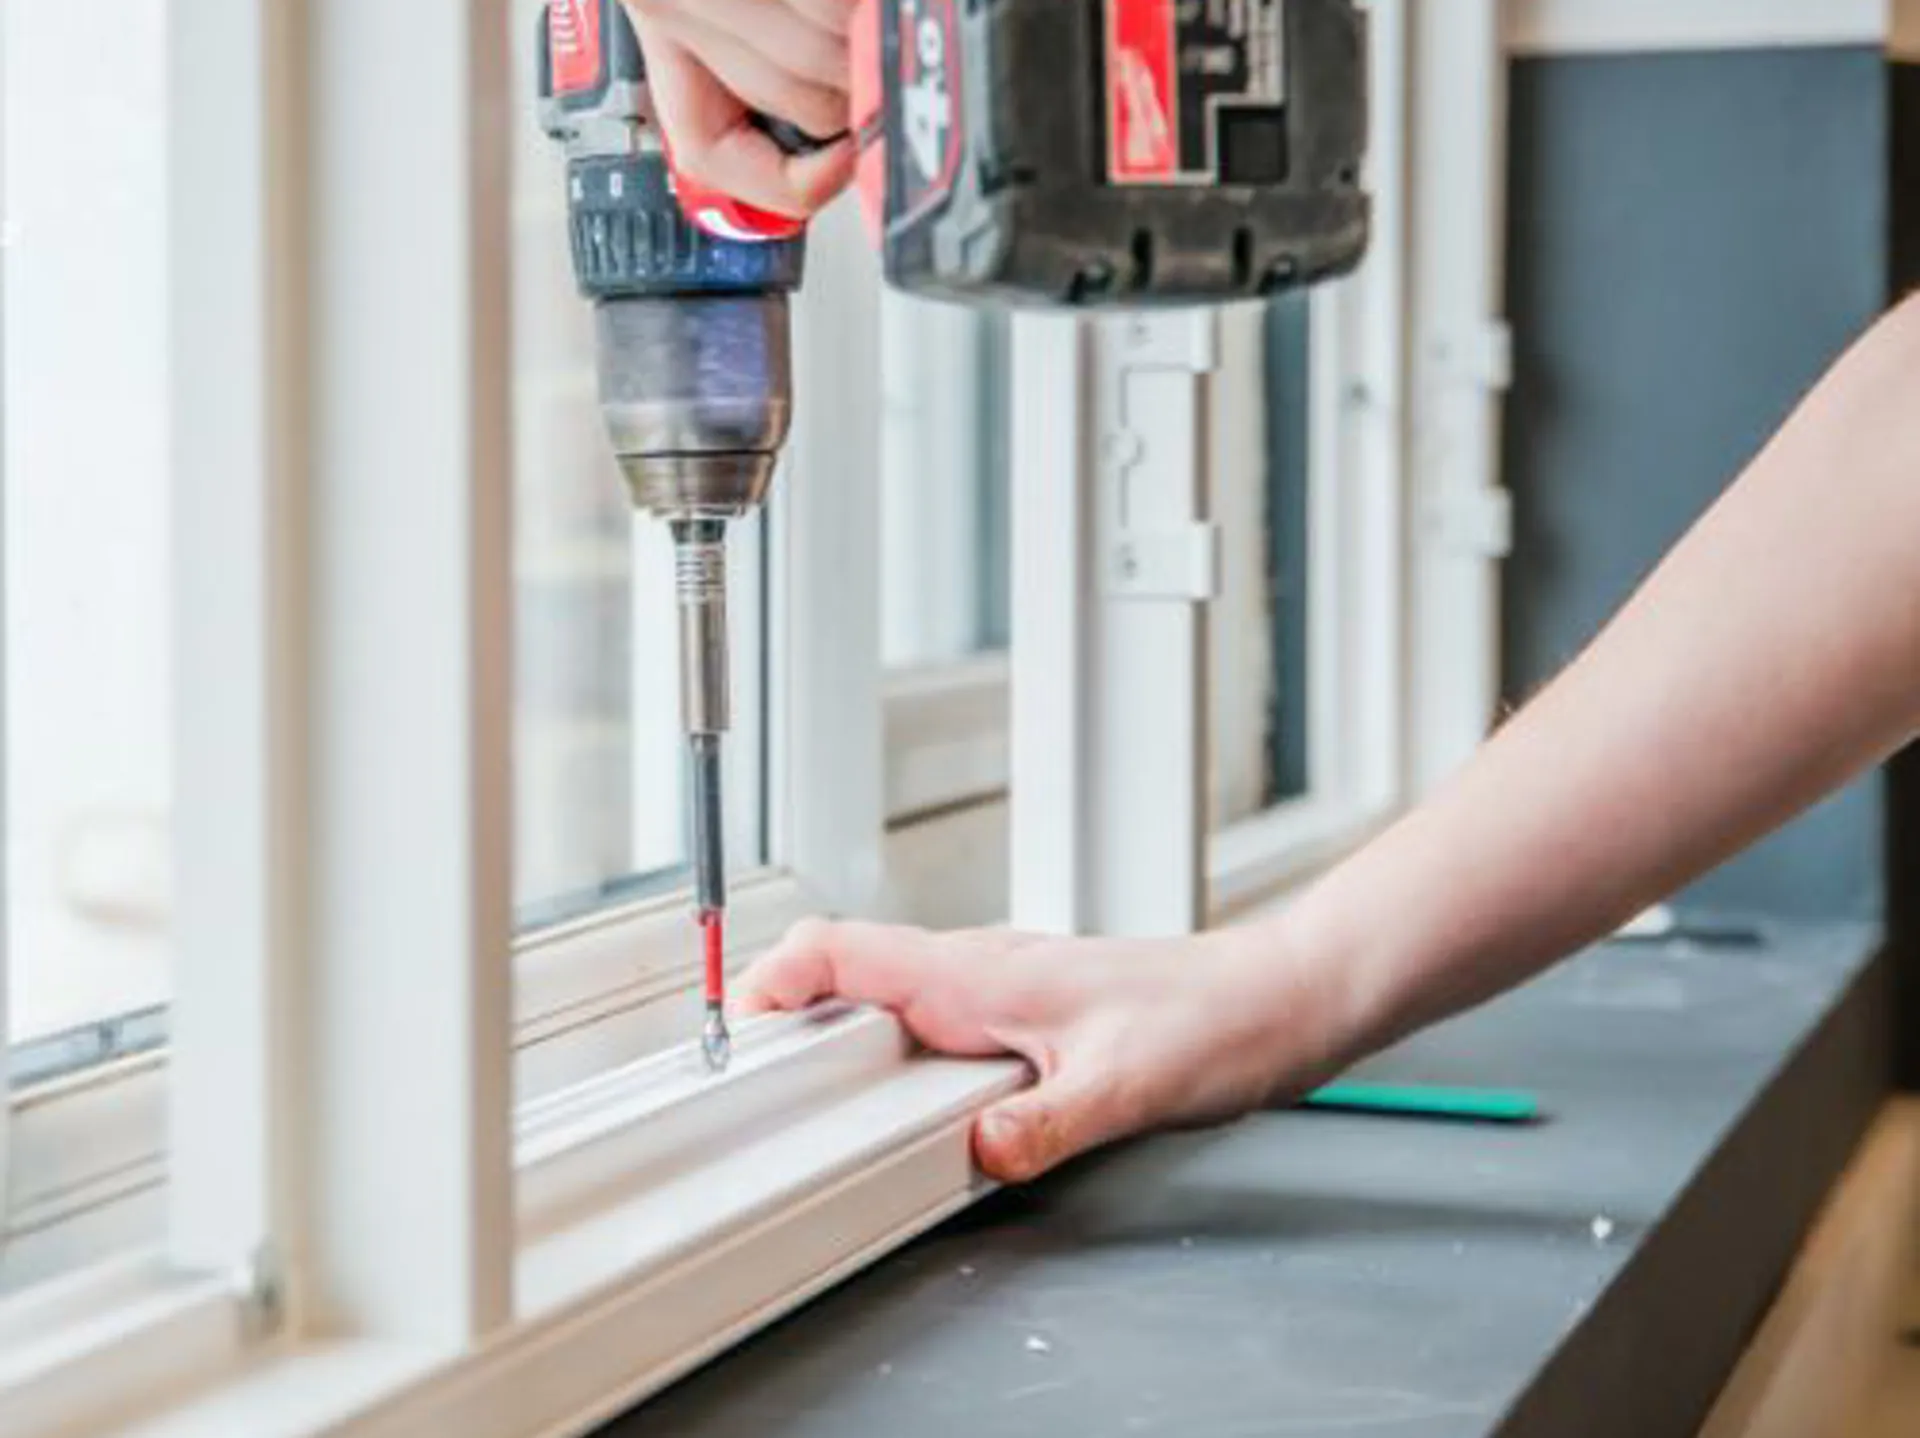
Installing DIY Shutters
With our easy-to-follow installation guide, you'll have your shutters up in no time. This guide is suitable for recessed, non-recessed windows, and bay windows.

What you’ll need
- Small hammer or rubber mallet
- Phillips screwdriver
- Electric drill
- Spirit level
- Appropriate fixings for your window (e.g., rawl plugs)
- Decorators caulk
- Wedges or shims
Preparation
Make some space and unpack your shutters near the window. Check that you have received the frame, panels, and hardware kit.
It’s a good idea to flatten out one of the panel boxes to protect your floor during assembly.
Click here for our bay window installation video
Step 1 - Assemble the frame
Remove the cover strips and place the frame sides face down on the floor. The frame sides are stamped on the mitred end to indicate which side it is (‘T’ is “top”, ‘R’ is “right”, ‘L’ is “left”, and ‘B’ is “bottom").
If you have ordered café style shutters, you won't have a top frame piece.
Once laid, use the plastic hoffman keys to connect the frame sides together. If you need to use your hammer or mallet to tap them into place, cover the area with a piece of cardboard or cloth to protect the frame.
If you have ordered a large frame, the build-out piece may be supplied separately, depending on the product range. If so, attach it to the back of the frame now.
T-Bars and T-Posts
If you have ordered a Tier on Tier shutter, you will have a horizontal T-post which will separate your top and bottom tiers of panels. This should be fixed in place now using the screws provided.
If you have a vertical T-Post within your panel configuration for Full Height shutters (i.e. LRTLR), it should be fixed in place now using the screws provided.
Step 2 - Position the frame
Offer the frame up to the window and position it where you took the measurements.
Check all sides using a spirit level. If needed, pack the frame with wedges, shims, or a piece of cardboard to hold it in place.
Start by fixing only a few screws at a time, checking that the frame stays level and plumb after each one is fastened. Don't fully tighten the screws just yet.
If fitting shutters on a bay window, position each frame, working from left to right, before starting to hang the panels.
Step 3 - Hang the panels
Line up your first panel to attach it to the frame. You'll need to ensure the panels are the right way up for your chosen product:
Shutters with a central tilt rod - slats close fully when tilted upwards. There is a "mousehole" on the top rail of each panel.
Shutters with a hidden tilt rod - slats close fully when tilted upwards. There is a rebate on the front of the top rail of each panel.
Privacy slat shutters - slats close fully when tilted downwards. There is a visible rebate on the front of the bottom tail of each panel.
Once aligned, drop in the hinge pins to connect the hinges and repeat this process for any remaining panels.
Step 4 - Securing the frame and hinges
Once the panels are hung, it’s time to tighten everything up. Check that you’re happy with how the panels are hanging, opening, and closing.
Insert and tighten any remaining frame screws.
If needed, you can adjust the hinges on the frame until you’re happy with everything. Then, insert the hinge locking screws.
If installing shutters on a bay window, you can also screw the adjoining frames together for additional stability.
Step 5 - Finishing touches
Pop your cover strips back into the frame. For a seamless finish and to disguise any gaps, run some decorator’s caulk around the frame to seal it in.
Now sit back and revel in the transformation!
Installation FAQs
Check the frame is level and plumb using a spirit level on the front and inside of the frame. It is common for window recesses or frames to not be completely square. You may need to use wedges or shims in this case.
Sometimes if the frame screws are overtightened, it can pull the frame out of shape, so you can also try loosening some of the frame screws.
There is an adjustment in the frame hinges, so try sliding them up and down to see if that solves it.
If the panels are dropping at the bottom corners further from the frame, try packing out the lower frame hinges using the hinge packers supplied. This should give it some extra lift.
If the panels are kicking out, try pulling or packing the corner of the frame forward to counteract this. Usually, if a panel is kicking out at the bottom, pulling or packing one of the top corners will sort this (and vice versa).
We recommend countersinking the screw hole to resolve this.
If you are drilling into brick, concrete, or plasterboard, it would be advisable to use suitable rawl plugs.
If you are fitting your shutter within a recess, it is always advisable that the frame is a few millimetres smaller, all the way around. We recommend using decorator’s caulk, or silicone sealant in a wet room, to finish off the installation.


