Installing Perfect Fit
You’ve received your fabulous new shutters and now you just need to install them. In just a couple of minutes, you’ll be enjoying your new Perfect Fit shutter blinds. Keep scrolling to get started with our helpful Perfect Fit installation guide.
What you'll need
- A standard-sized credit or debit card
Step 1 - Position the brackets
Take a standard-sized debit or credit card and hold it in the corner of the glass as shown below. The brackets should line up with the edge of the card.
Slide the bracket between the glass and the black seal. Do the same on both the top and bottom of your window.


How many brackets?
Every Perfect Fit shutter blind will have at least four brackets: two at the top and two at the bottom.
You will receive two additional brackets if your panel is over 900mm in height. These will go on in the middle of the left and right sides.
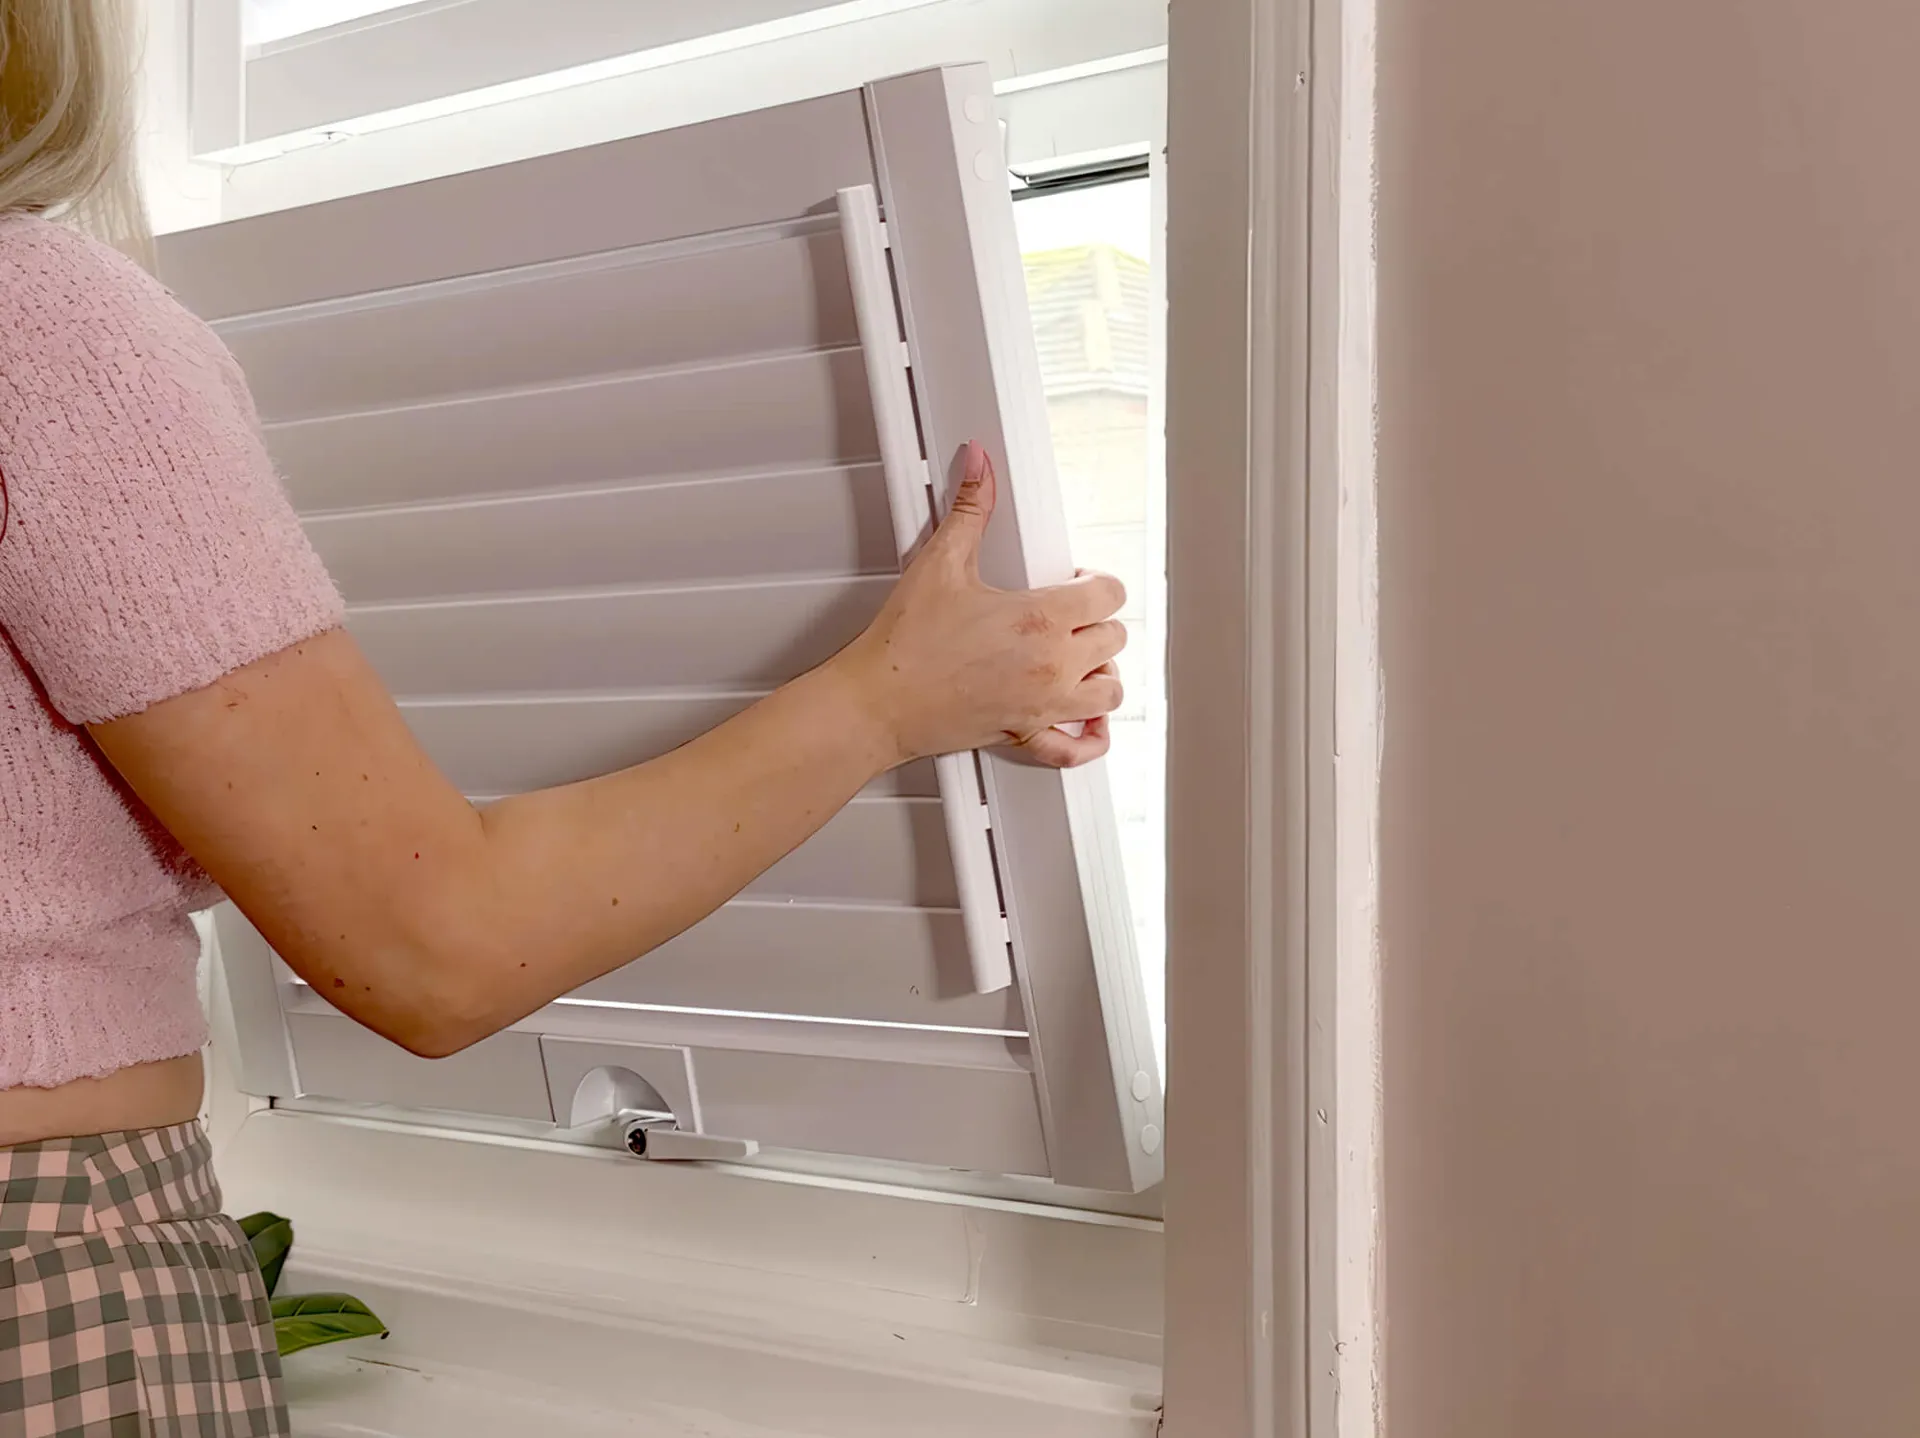
Step 2 - Clip in the panels
Line up the notches on the top of the panel with the top brackets. Then push the panel against the window until it slots into the bottom brackets.
If you have side brackets, check that these have been clipped into position.
And that’s it. You’re all done!


Perfect Fit installation FAQs
If your panel is coming loose please contact our customer service team. You might require an alternative bracket size, which we can supply.
Once your perfect fit shutter blinds have been installed, you can simply unclip them from the brackets when you wish to clean your window.